In X3 we can use a service contracts for creating maintenance contracts. In this blog I shall give a demonstration on how to create an Automatic Maintenance Contract from a sales order. The maintenance contracts contain the same characteristics as the service contracts, their difference being that they can be invoiced.
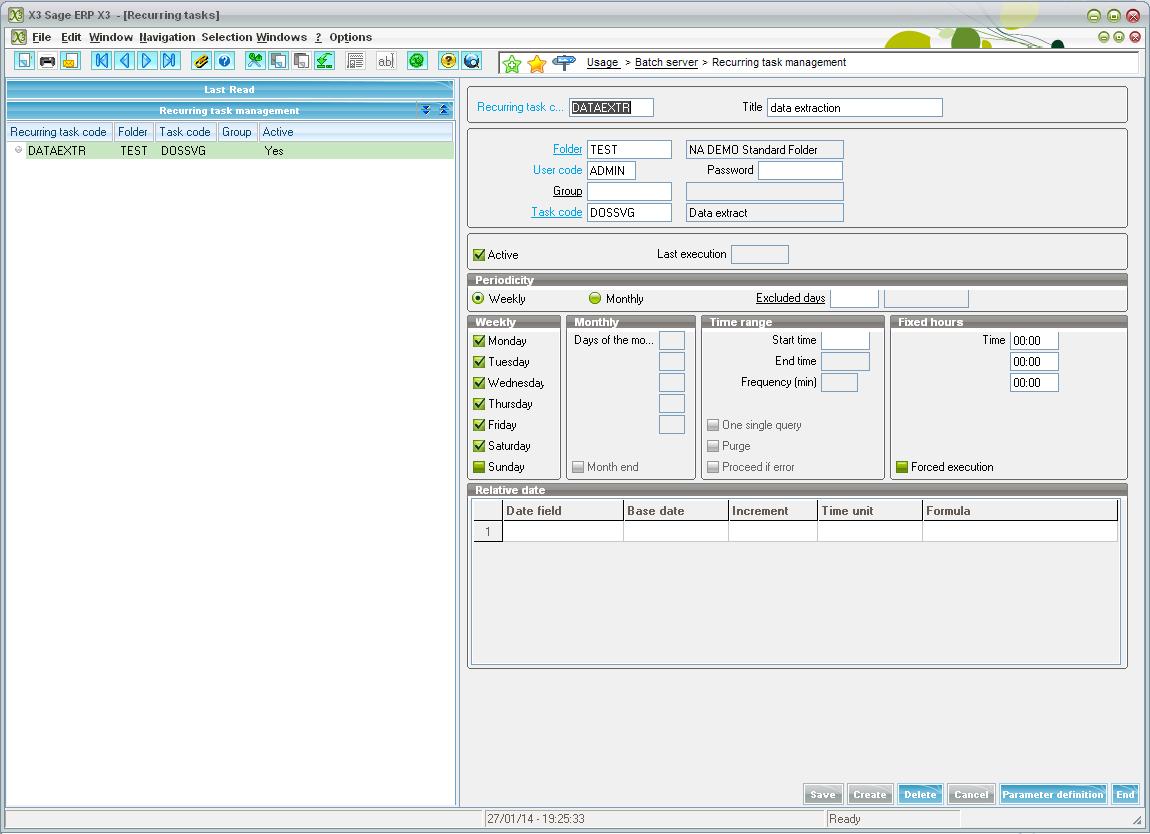
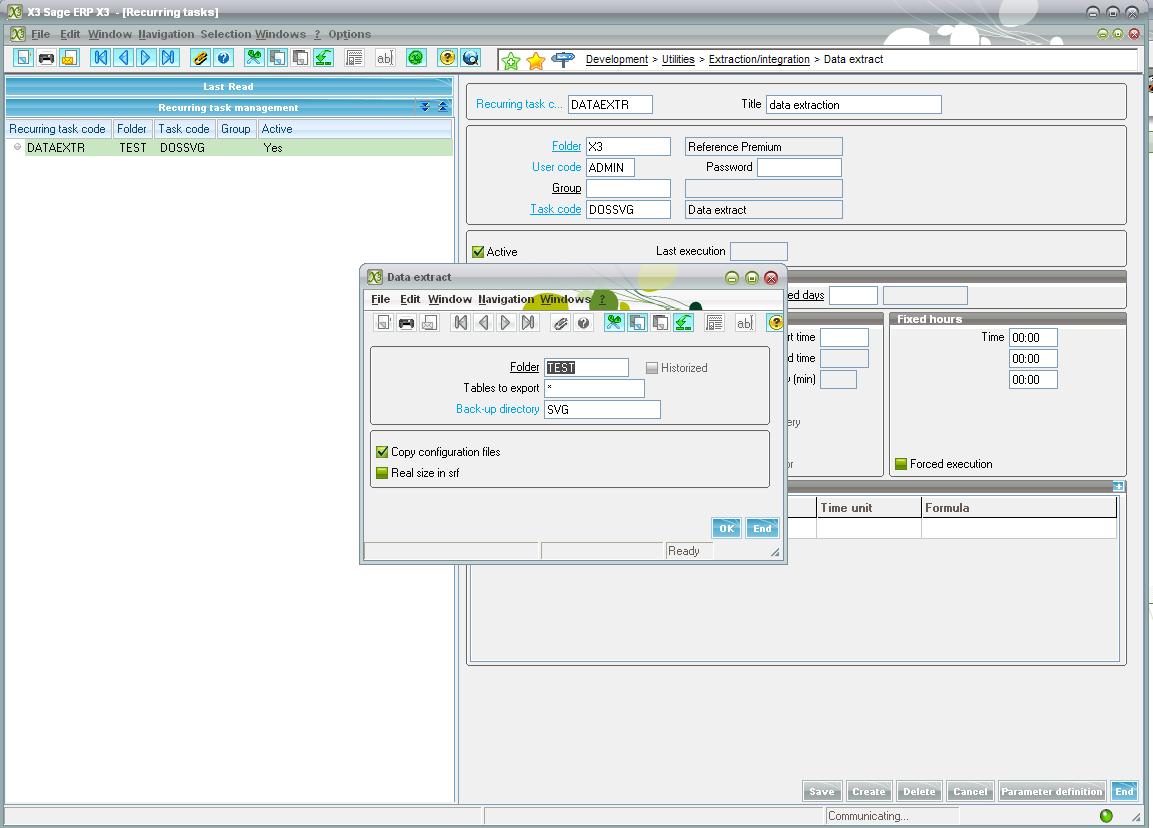
New Stuff: Steps to Automate Sage X3 Backups
The service contract provides the customer with either free or chargeable access to certain services. That is to say:
- The access to consultants/advisers to obtain explanations or “tricks” on the functioning of equipment or a system;
- Access to certain repair services when a malfunctioning occurs ;
- The respect of quality criteria imposed by the contract and so on.
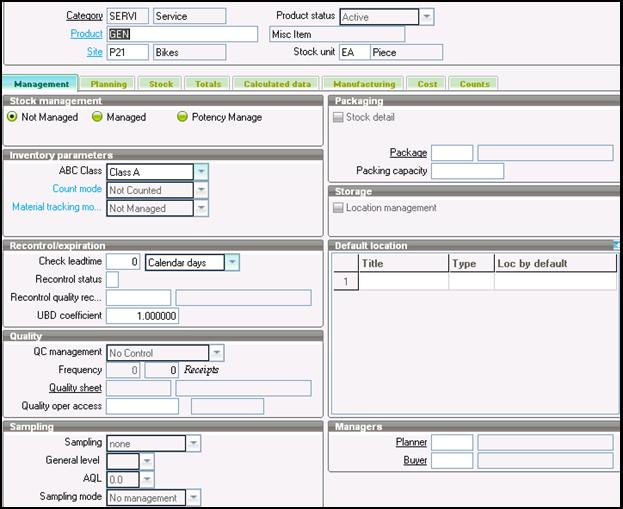
1) To assign a Service Contract to a specific Product, assign a ‘maintenance service contract template’ in the “After Sales” tab of the Product Maintenance Screen
Steps: – > Create a service Product. In this example I’m using the product ‘Gen’ (Service type)
![ServiceCont-1]()
![ServiceCont-2]()
2) Add to Site.
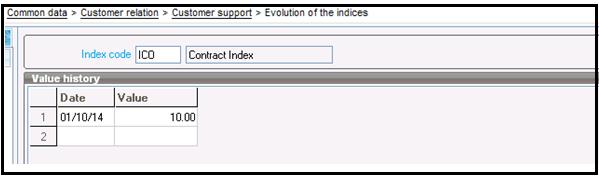
3) Evolution of the indexes- Common data->Customer relation->Customer Support-> Evolution of the indices. (Indexation bases are necessary to provide an automatic re-evaluation of the service contracts)
![ServiceCont-3]()
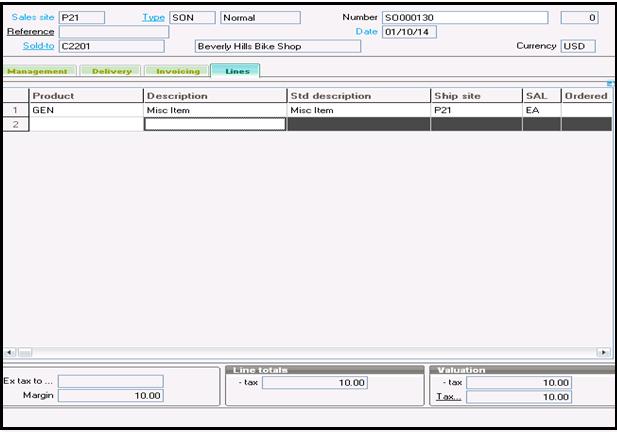
4) Add to sales order:
![ServiceCont-6]()
Create a sales order for a service contract product. After creating the sales order a service contract get automatically created for the particular product.
5) Check the Service Contract Screen for the Service contract created:
![ServiceCont-5]()
Once you click on invoice, the Invoice is created and the Invoice button then gets disabled since the ‘next invoice date’ gets updated. The Invoice button in the above screenshot can only be accessed on the service contract screen if the Service Contract Source is not manual.
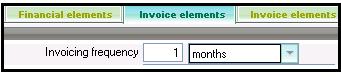
The next Invoice date depends upon the following field:
![ServiceCont-4]()
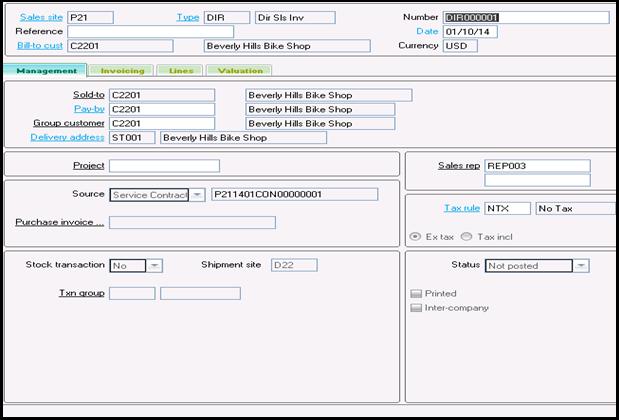
After Clicking on Invoice it creates a Direct Sales Invoice with service contract for a product.
Also Read:
1) Sub contract Transfer in X3
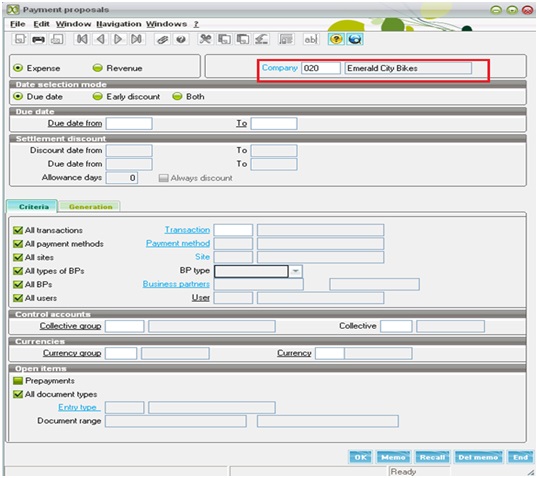
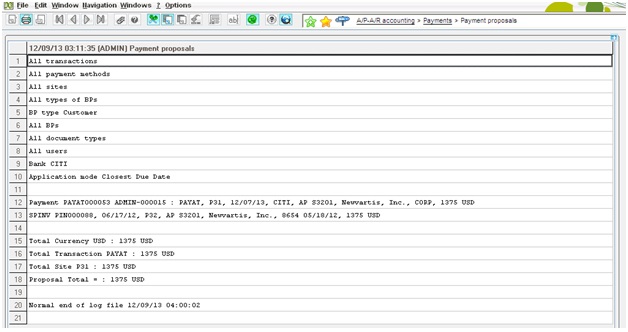
2) Payment Proposal Process In X3
3) Updating Price Reason with user defined value
4) How to Track Revision in Sales Order
5) Setup Price Code Priority