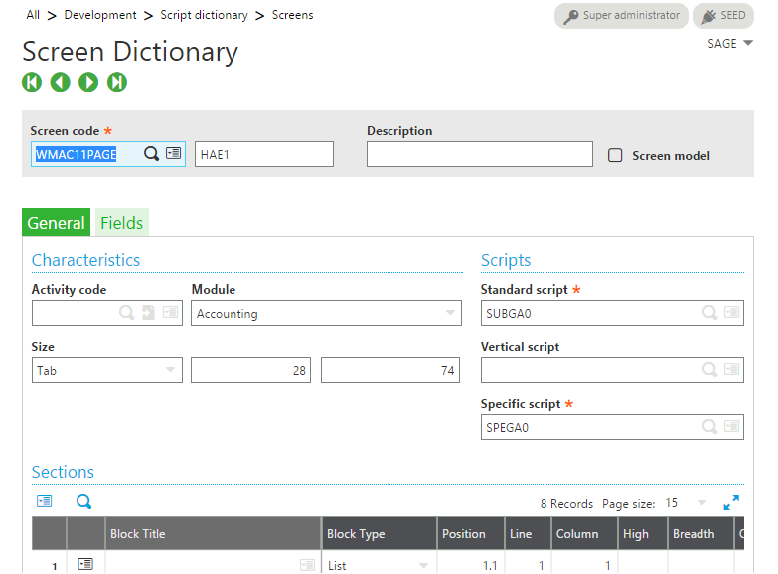
You may come across the situation where you need to access the physical folder path in Sage X3. It could be easily achieved with the help of the keyword ‘filpath’.
filpath: Filpath creates the access path to a file on a Sage ERP X3 application server.
Syntax:
Current_Folder_PATH=filpath(“”, “”, “”)
Specific_Folder_PATH =filpath(“”,””,””,”Folder_Name”,””)
Parameter Details:
- Folder_Name: name of the folder
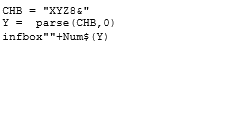
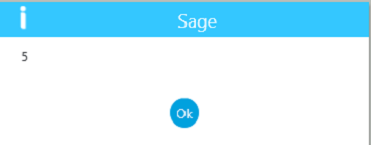
Kindly refer to the below snippet of code for better understanding.

Hope this helps!
About Us
Greytrix is one stop solution provider for Sage ERP and Sage CRM needs. We provide complete end-to-end assistance for your technical consultations, product customizations, data migration, system integrations, third party add-on development and implementation expertise.
Greytrix have some unique solutions of Sage X3’s integration with Sage CRM, Salesforce.com and Magento eCommerce. It also offers best-in-class Sage X3 customization and development services to Sage business partners, end users, and Sage PSG worldwide.
For more information on Sage X3 Integration and Services, please contact us at x3@greytrix.com .We will be glad to assist you.
Also read:
– List the files from the directory
– Copying processing files from one folder to another
– Activating Debugger for Specific Files in Sage X3