Configurator simplifies the process of creation or selection of products, BOMs and routing. In this article we see an overview of the product lines for Configurator (excluding the technical nitty gritties of the process). Once you are aware of the basic facts you can easily use the Configurator on your own with the help of technical documentation available for this subject or we may take you through the detailed process in our upcoming blogs and refer the related post to understand the configurator.
New Stuff: Blocked inventory which is in process of put-away?
First of all, We need to set a configurator symbols with help of some basic parameters
A) Symbol:
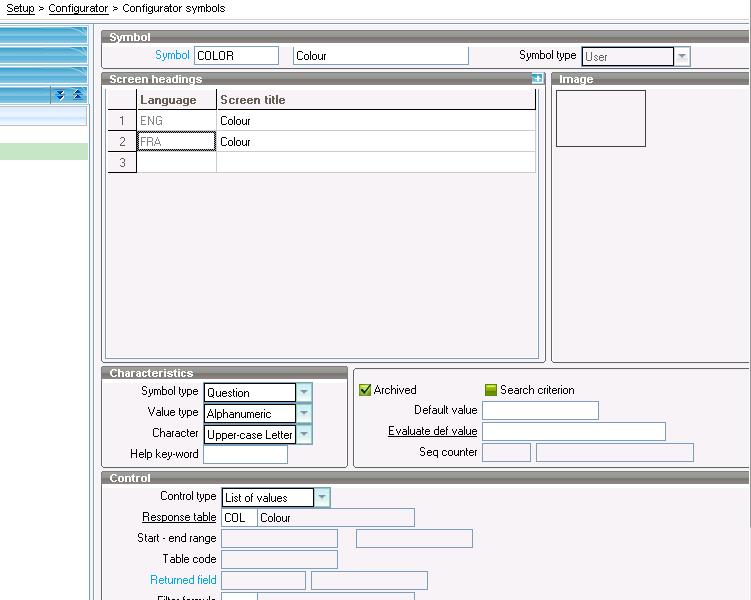
Symbol type is a question or variable that is used while using the Configurator.
Now each symbol has an answer or responses (set of possible values).
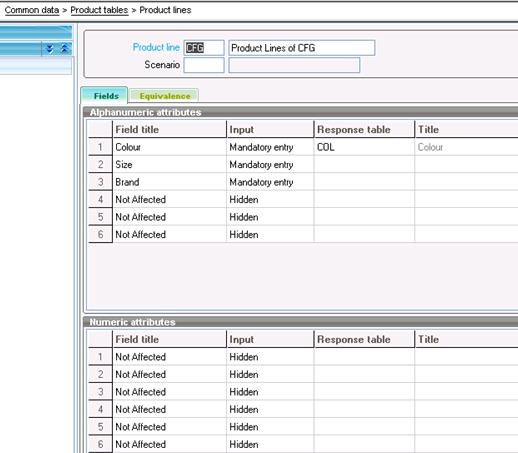
B) Product Lines:
With the help of Product line we set the attributes like size, color and brand to the product as per our need
C) Products:
Here we will select the product line for the product with following the screen shot which help to save the size, color and brand.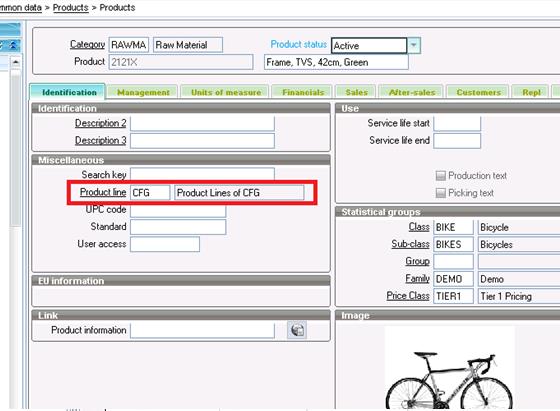
Product Lines![8]()

Config. data
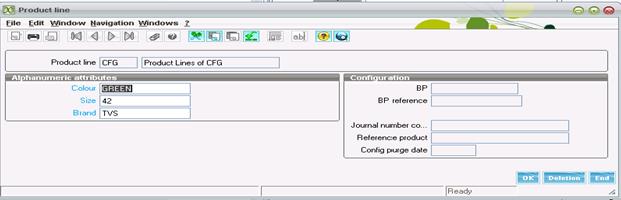
Finally, click ok and save the product. Now we did set the color, size and brand for the product successfully. There is no restriction to use colour,size and brand only. We can set any symbols and product lines.
Also Read:
1.Simplify product creation using Configurator in Sage X3
2.Automate product creation using Configurator
3.How to remove a particular order from credit status hold
4.How to add Sales Invoice elements in X3?
5.Sell a group of products using Fixed Kit in Sage ERP X3