This blog will help you in attaining the Payment/Receipt functionality in Sage X3.
After creating a Check receipt entry using Payment\Receipt Screen. Click on the Milestone to view the next steps to perform. If we enter the Bank Account name in the Payment\Receipt screen then we won’t have to perform the “Bank Allocation” Step. The Bank Allocation, however, if required can be done from the Bank Allocation screen itself.
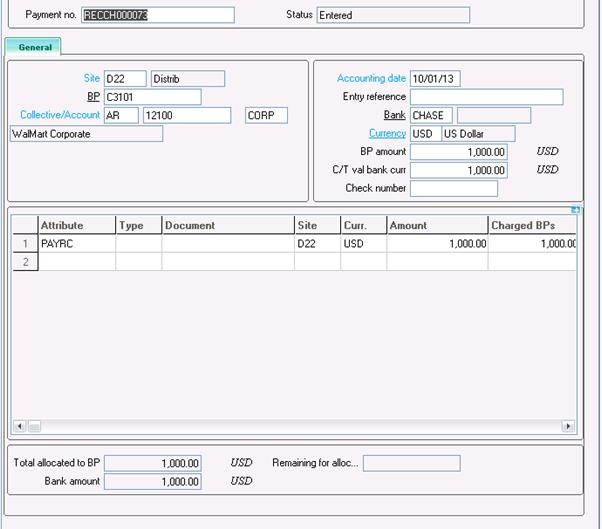
In this example we have used the BANK “Chase” for the Check Receipt creation. (Refer the screenshot below for “Milestone Log”).

As you can see above you need to perform the “Bank Deposit“ and then the “Bank Posting” to complete the Check Receipt Process.
To create a Bank Deposit for the Payment created above you can either use the Automatic or Manual Remittance creation method. In this example I’ve used the manual remittance creation method to create a Bank Deposit.

As you can see in the above screen you can select the payment from the left list and create the remittance. Then you will have post this remittance by clicking on the “Post” button to change the status of the Deposit to “In the Bank”. See below for the log generated after the Bank Posting.

This step also completes the Posting of the payment which was created earlier.
Hope this blog helps you in provides a brief idea about steps involved in posting checks receipts.